Key finder iPhone setup: done in five minutes
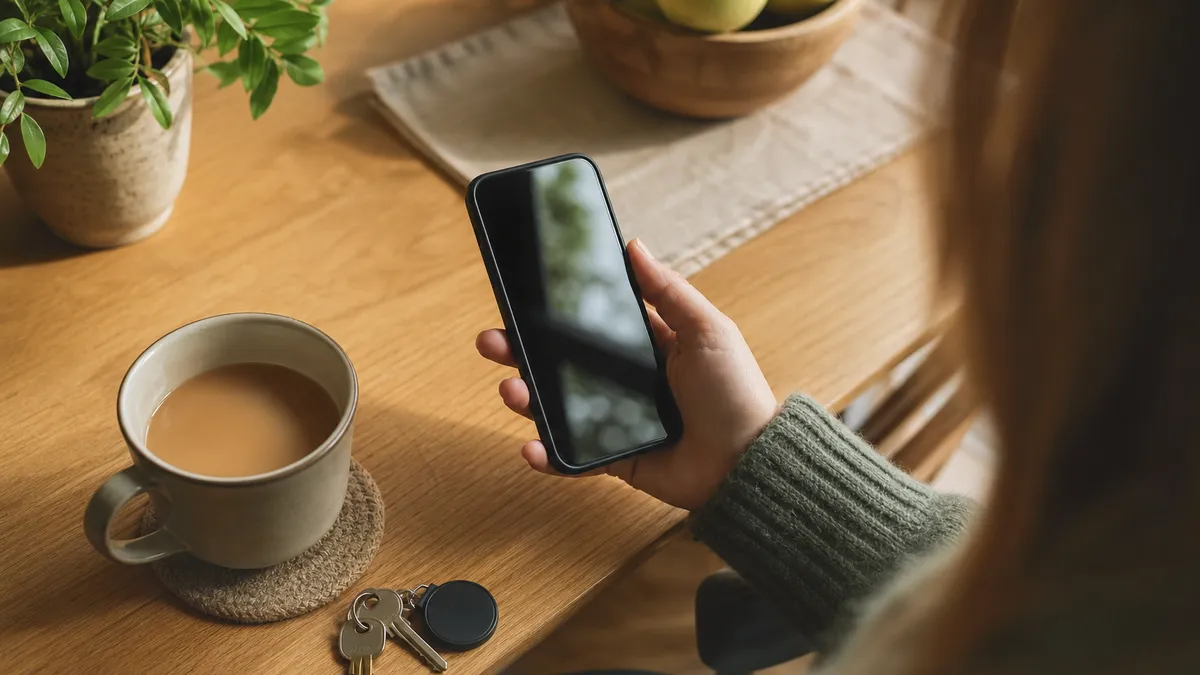
Getting a key finder iPhone owners can actually rely on is not really an installation job, it is four taps and a name. The pairing takes under a minute. What takes the other four minutes is the handful of settings nobody tells you about, which are the difference between a tag that sits in the Items list doing nothing and one that stops you leaving the house without your keys. Here is the whole thing, in order.
Before you start
Three quick checks, so you are not troubleshooting mid-setup.
- iOS 14.5 or later, on an iPhone or iPad. Settings, then General, then About, and read the Software Version. Anything older will not offer the option you need.
- Bluetooth on, and the phone unlocked. This sounds obvious; it is the single most common reason a pairing prompt never appears.
- Pull the tab. Nearly every tag ships with a plastic strip poking out of the battery compartment to keep the cell from draining in transit. If you cannot get the tag to chime, this is why.
You do not need a new app, an account or a subscription. The Find My app came with the phone.
The key finder iPhone setup, step by step
- Open Find My and tap the Items tab along the bottom.
- Tap Add Item, then choose Add Other Item. Do not look for a brand name here, third-party tags all appear under this one option.
- Wake the tag. Hold the button on the tracker until it plays a short chime. Your iPhone will spot it within a few seconds and offer to connect.
- Tap Connect, then give it a name. Type something specific, "House keys", not "Tag 1", and pick an emoji so it is recognisable at a glance in a long list.
- Register it to your Apple Account when prompted, and you are done. The item now appears on the map alongside everything else Apple knows about.
If you have more than one tag, do them one at a time and name each before starting the next. Two identically named tags is a mess you will regret in a fortnight.
The four settings actually worth changing
Pairing gets you a dot on a map. These get you the thing that changes your mornings.
Notify When Left Behind
Open the item, scroll to Notify When Left Behind and switch it on. Your iPhone will then tell you when you walk away from the tagged object, usually within a couple of minutes and a couple of streets, not instantly.
While you are in there, add your home as an excluded location. Otherwise the phone will nag you every time you walk to the bin without your keys, and you will switch the whole feature off within a week.
A specific name and emoji
Worth repeating because it matters when you are in a hurry. "Keys" and a key emoji beats "Item" every time.
Play Sound, tested once, on purpose
Ring the tag while it is in your hand so you know what it sounds like. Then hide it in the sofa and ring it again. You want to know what a genuinely muffled tag sounds like before the night you actually need to find it.
Lost Mode, understood in advance
You do not switch this on now. You just need to know it exists. Marking an item as lost lets a finder tap the tag with their phone and see a message and contact number you choose, without ever learning your home address.
When it will not pair
Almost every failure is one of five things.
- The battery tab is still in. Pull it, wait five seconds, hold the button again.
- The tag is still connected to another Apple Account. Second-hand and previously opened tags have to be removed from the old owner's account before they can join yours. There is no way around this, and it is a deliberate anti-theft measure.
- Bluetooth is off, or the phone is in Aeroplane Mode.
- Two-factor authentication is not enabled on your Apple Account. Find My items require it.
- You are already at the item limit. An Apple Account tops out at 32 items in Find My.
Reboot the phone before you conclude the tag is faulty. It fixes a surprising number of stubborn pairings.
How Air Tracker helps
Air Tracker is designed for exactly this flow: it appears under Add Other Item and joins the Find My app already on your iPhone, so there is no second app to install, no account to create and nothing to renew. The chime when you hold the button is the pairing confirmation described in step three.
Once it is on the list you get the full set of Find My behaviours. Play Sound rings it at 80–100 dB, loud enough to hear through cushions and coat linings from up to about 60 metres of Bluetooth range. Past that, the network of passing Apple devices keeps the map pin fresh, with the location reports encrypted end to end so only you can read them. On iOS 17 and later you can share an item with family, so a partner can ring the keys without borrowing your phone.
Practicalities: the battery is a CR2032 you can swap yourself in seconds, rated for up to two years; the shell is IP67, so rain is irrelevant; and it is 36.3 mm square, 9 mm thick and about ten grams on the ring. It is MFi certified and supports Apple's unwanted-tracking alerts. It does not have Ultra Wideband, so there is no directional arrow, and Android is unsupported, the minimum requirement is an Apple device running iOS 14.5.
Boxes hold two trackers with the key rings included, ship free anywhere in the UK and cost under £15. get set up this week.
Written by Item Finder Updated
More from the journal
 How to5 min read
Locked out of the house: what to do in the UK
Locked out of the house with no spare key? Work through these steps before you call anyone, then how to pick a locksmith who will not drill a lock that opens.
 How to5 min read
How to find lost keys in the house: a room method
How to find lost keys in the house without turning it upside down: the six places they hide, a room by room order, and when to stop looking and start ringing.
 In the news5 min read
The cost of losing things, and the cover you have
The true cost of losing things is rarely the price tag. A September 2026 warning about double insurance is a good reason to check what you already pay for.